Blog
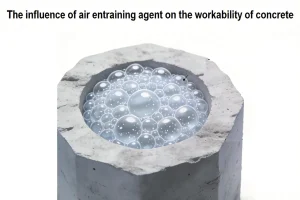
The influence of air entraining agent on the workability of concrete
Blog The influence of air
Blog
When we are building concrete structures, we all expect to achieve a smooth and uniform concrete surface. However, sometimes we see dozens, sometimes hundreds of small circular cavities: bubbles. These surface voids, commonly referred to as wormholes, burst marks, or bubbles, are not just aesthetic issues; they can reduce the durability of concrete surfaces, increase permeability, and may become weak points that peel or crack over time.
This article explains the fundamental reason for the formation of bubbles on the surface of concrete and provides a solution for bubbles on concrete construction surfaces.
| Cause Category | Specific Cause |
Formwork issues | Non‑permeable formwork (steel, plastic, dense plywood) with no air relief; dirty or oil‑coated surfaces that trap bubbles; insufficient formwork stiffness leading to movement |
Mix design problems | Too much air entrainment (high air content); high water‑cement ratio (bleeding leads to water pockets that become voids); insufficient fines (sand) to fill voids; sticky, high‑viscosity mix |
Placement & consolidation | Inadequate vibration; over‑vibration (causes segregation but also can bring air to the surface that doesn’t escape); improper vibrator insertion (not reaching near formwork); concrete placed too quickly or in thick lifts that trap air |
Release agents | Excessive or incorrectly applied form release oil; oil that is too thick, forming a film that prevents air from escaping |
Concrete consistency | Low slump (too dry) – air cannot migrate; very high slump (too wet) – heavy bleeding creates water voids after evaporation |
| Filler Type | Best For | Application Method |
| Neat cement paste (cement + water) | Small, shallow bubbles (<3 mm) | Rub into bubbles with a sponge or burlap pad |
| Cement + fine sand (1:1 or 1:2) + water | Larger bubbles (3–10 mm) | Trowel or squeeze into cavities |
| Polymer‑modified cementitious grout | All bubble sizes, better adhesion | Apply with a rubber float or putty knife |
| Epoxy or polyester filler | Deep bubbles, high‑durability requirements | Inject or trowel; sand after curing |
Q: Can I use a vacuum to remove bubbles from fresh concrete?
A: No. Vacuum dewatering removes surface water but does not extract entrapped air bubbles from near the formwork. Proper vibration is the only reliable method.
Q: Does self‑consolidating concrete (SCC) produce fewer bubbles?
A: Not automatically. SCC has high fluidity and low viscosity, which can allow air to rise, but it still requires careful formwork design (permeable liners) and controlled placement to avoid surface bubbles.
Q: How do I match the color of the cementitious patch to old concrete?
A: Use the same cement and a consistent water‑cement ratio. For white or colored concrete, add pigments in trial batches. Aging and weathering will eventually blend the patch, but a full surface sealer helps.
Q: Are bubbles a structural problem?
A: Generally no, unless they are very deep (exposing reinforcement) or cover a large percentage of the surface (>5% of area). In most cases, they are a durability and aesthetic concern.
Bubbles on concrete construction surfaces are not inevitable. The most effective solution is prevention: a well‑designed concrete mix (moderate air content, low water‑cement ratio, adequate fines), clean and properly oiled formwork, and, above all, thorough and correct vibration. When bubbles do occur, they can be repaired using cementitious pastes, polymer grouts, or epoxy fillers, followed by proper curing and finishing.
For architectural or high‑durability concrete, investing in controlled permeability formwork and training vibrator operators pays for itself by eliminating the need for costly, time‑consuming patching. Remember: a bubble‑free surface is a sign of quality workmanship and a durable structure.
The influence of air entraining agent on the workability of concrete
Blog The influence of air
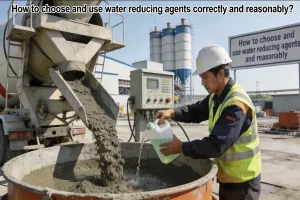
How to choose and use water reducing agents correctly and reasonably?
Blog How to choose and us